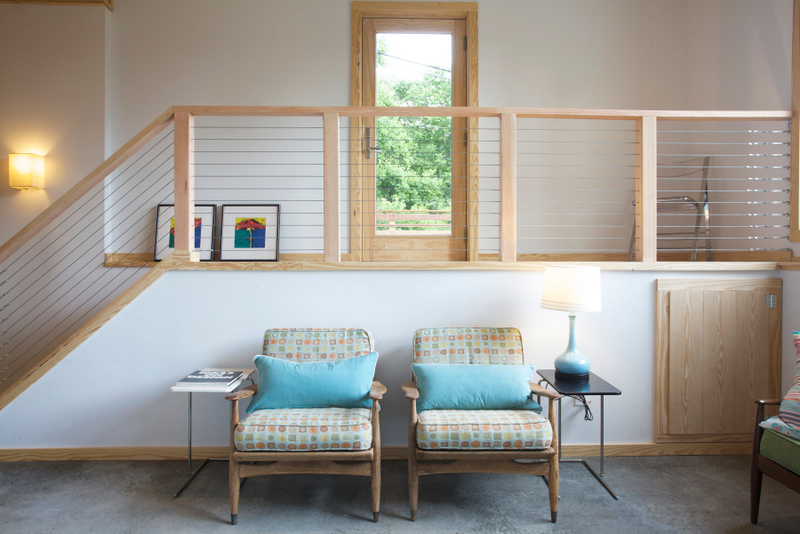

So. We love that cable rail. We love metal, we love horizontal lines, we love the simplicity of the look. Honestly, I also think part of it’s allure is you actually don’t see it that much in the flesh. You see it a lot in magazines, some in commercial buildings, so I find people really want to reach out and grab it when they see it in a house.
Did I mention that it can be used as a musical instrument? Tom knows how to play both the theme to Jeopardy and The Facts of Life. I know how to play the first part of the theme to Jaws. The part where the shark is coming.
So, we were honestly a little timid when it first came to the cable rail thing. Mainly because of price as the proprietary systems cost a fortune. We have to thank Moriah for making it seem easy as he turned us on to a method of doing it with material right off the shelf of Lowes. Since then, we’ve trolled the internet and our currently spending our time at e-rigging.com (cable and ferrules) and mutualscrew.com (You have a dirty mind! That’s where we are getting the turnbuckles and eye hooks).
So here’s the system: One end you have a small eye-hook. You thread a cable through that and create a loop that is crimped with two ferrules. The first ferrule is what locks the two cables together. The second ferrule is cosmetic and is what caps the wire off as you run it maybe only halfway through the ferrule. You could get away with one ferrule, but you should really take the extra time to crimp carefully. Then, the wire runs along and at the other end you make another loop with two ferrules that runs through the eye end of a 4″ turnbuckle. The jaw end of the turnbuckle runs through another small eye hook. We are complete.
So, obviously the big difference is that the proprietary systems are much more streamlined: The rail at one end slips into a small tube that is anchored to the post and has small little allen screws digging into the wire to lock it in to place. The other end has another little tube scenario that swivel up a threaded rod to get taut. Ours has more components and is a bit more chunky. But, if done right, looks great.
A few keys to success:
Take the time to really cut all the wires exactly the same length and to crimp all the ferrules in the same place, so that the loops are all the same. Take the time to make sure that when you put on the turnbuckles, they are slack to the same degree. That way when you add tension, all the components line up over each other and it doesn’t distract the eye.
Spend twelve bucks and buy a portable drill press attachment for your cordless drill cause you are not free handing all those posts. Except if you trying to recreate the album cover to whatever Joy Division record that is.
Code says no 4″ ball can ever pass through it. So that means not spacing your cable more than 3 1/2″ apart tops. For, if you can put your hand in between two cables and flex it such that the cable moves to get that 4″ gap, you fail. And, you would have to add a crazy amount of tension to not make those cables move much. So, give yourself some breathing room.
If you’re inside, it’s all super cheap as you can get all aluminum zinc plated. If you’re outside, you got to not skimp. Go with stainless steal over galvanized, particularly for the wire as that will rust pretty easily.